When you create a die cut sticker design, you might wonder whether you have to include a bleed around your artwork or whether a full bleed is different from your sticker's cut lines.
The short answer is no. Our design team will add a bleed to your artwork for you. But if you do have specific requirements or ideas on how you would like your bleed to look, you can either submit your own or let us know when you place your order.
Read on if you want to learn more about what bleeds are and how they are used.

What is a bleed?
A bleed is a usually white border that is added around the cut line of your stickers. Your cut line marks the edge of your stickers. It is indicated by a magenta line on your digital design proof.
The bleed is not part of your design proof, as it will be added around the edge of your cut line and eventually be cut during the die cutting process. This means that the finished product will not have a bleed line.
The difference between a bleed and a cut line
Both your cut line and your bleed are part of your stickers during the printing process. Eventually, your die cut stickers are cut along the cut lines to create the exact shape you ordered. The cut line, therefore, represents the custom shape of your die cuts.
The bleed area does not affect the shape of your sticker. It is simply an added border that protects your stickers. In the example below, you can see the cut line in the sticker design. The bleed would simply be 2 mm added after the cut line.

Why stickers need a bleed
The bleed area functions as a safety net for your stickers. It has two functions:
- It protects your stickers during the die cutting process.
- It ensures that the ink extends all the way to the cut lines.
When manufacturing die cut stickers, we work with tight tolerances to create intricate custom shapes. Adding a bleed gives the machines some wriggle room.
Think back to your arts and crafts days as a child. Imagine you are colouring in a flower that you want to cut out later. To be sure that each part of your flowers is coloured, you might colour outside the lines just a little.
This is exactly what a bleed is for. We extend the colour of your stickers a bit to ensure the ink is evenly spread to the very edge of your die cuts.

How to add a bleed to your die cut sticker
For graphic designers, adding a bleed will not be a challenge. But if you are using graphic design programmes for the first time, it can be a little complicated.
In Adobe Illustrator, you can add a bleed by clicking the function "offset path". You can then redirect the edge of your stickers by around 2 mm. In CorelDRAW, this function is called "contour" and means that a 2 mm contour will be added around your artwork.
If you are not comfortable using these programs, do not worry. Our design team will action that for you.

What will my bleed look like?
Die cut stickers have intricate shapes. There are two ways we add bleeds to custom shapes stickers.
Background colour
Your die cut stickers might include a coloured border. If so, we simply extend that colour slightly to ensure it goes all the way to the edge of your stickers and die line.
Material colour
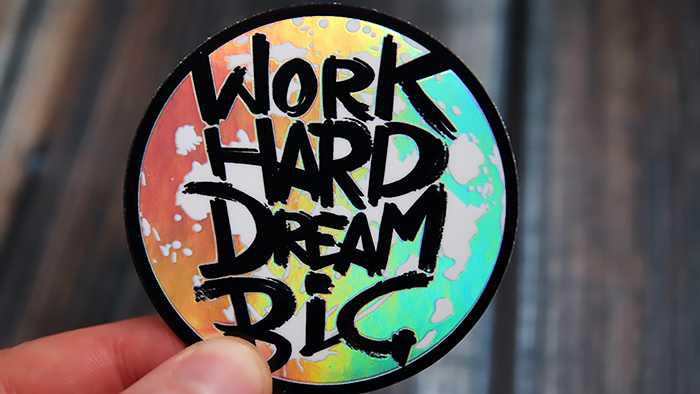
We can also work with the colour of your material. Instead of using colour, the border around your die cut stickers can simply consist of the material they are printed onto. If you choose a white vinyl or biodegradable paper sticker, this can be a white background, or it can be a holographic edge if you opted for holographic stickers.

And now you are a bleed expert ready to tackle your next die cut sticker order. Do you want to find out more about all things die cut stickers? Then these are the perfect next reads for you.


Comments
0 comments
Please sign in to leave a comment.