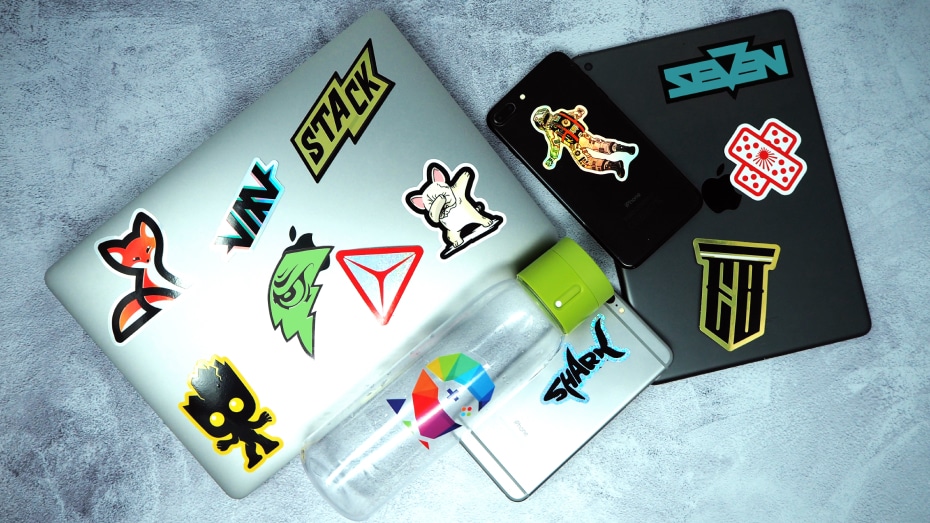
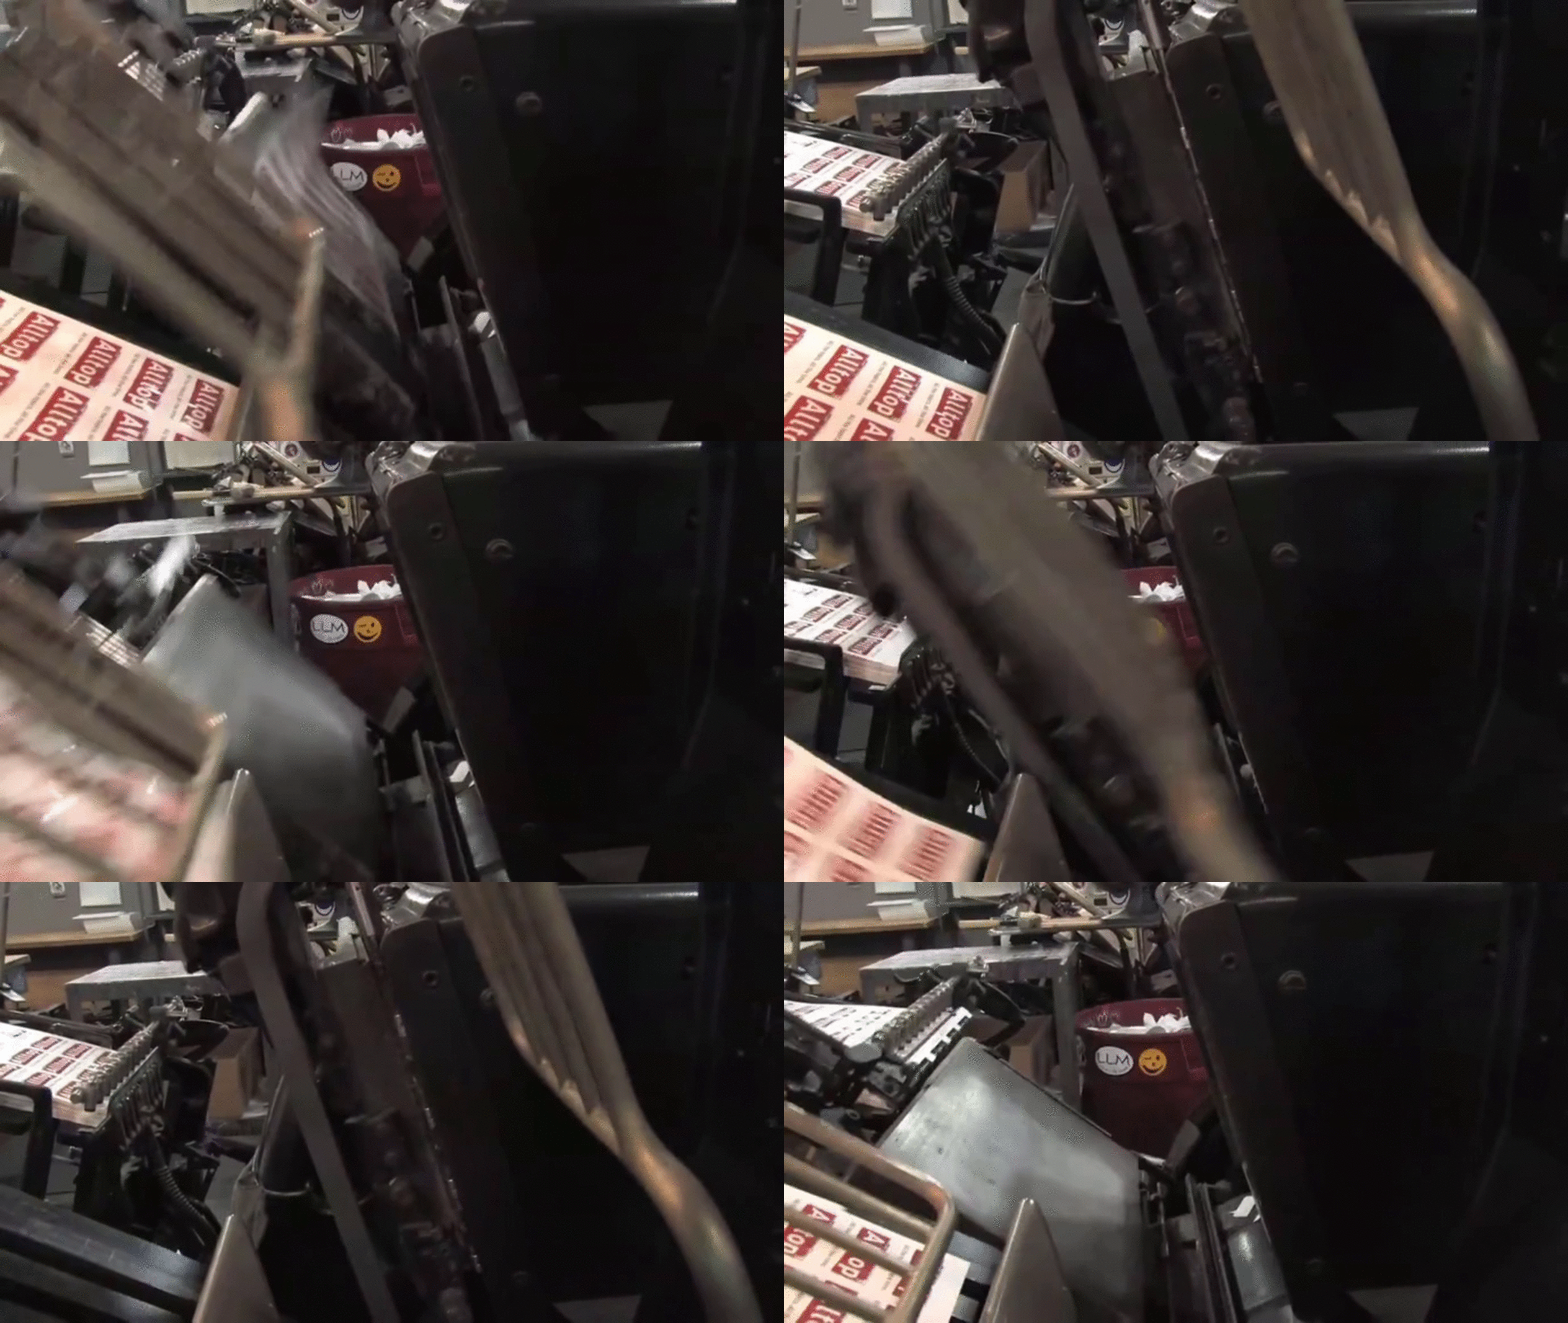
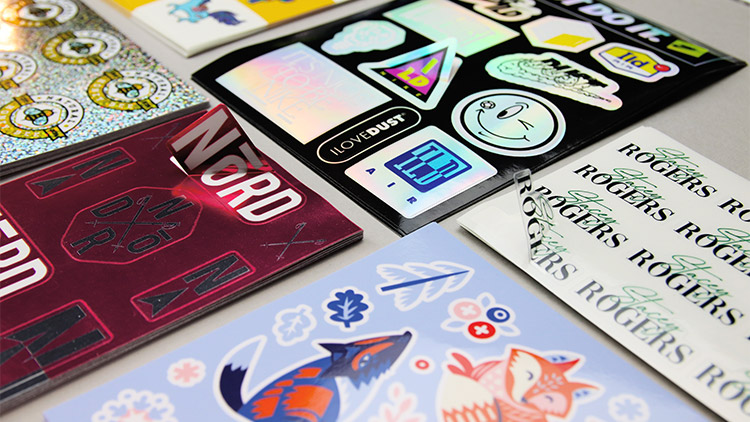
Have you ever wondered how a die cut sticker is manufactured? Or what happens in the four days between your approving your design proof and receiving your stickers?
Let's take a peek behind the scenes and learn all about how custom die cut stickers are made.
1. Let's get printing
As soon as you approve your sticker design, it is sent to our manufacturing department where it gets printing.
Wait, maybe you are wondering what your die cut stickers even get printed on. After all, what are die cut stickers made of?
That is your choice. Your die cut stickers can be made from any material, reaching from durable vinyl to biodegradable paper. If you want to learn more about this, read our post on what is a die cut sticker.
Depending on your choice, our production team will put a roll of your material onto the printer and start the printing process.
We work with the latest full colour printing technology that includes white ink. This means we can create beautiful, vibrant colours on any material.
2. Add a glossy finish
Once your die cut stickers are printed, we add a protective laminate.
This is an optional step. We highly recommend laminating stickers that are used outdoors or exposed to water. The clear laminate protects your design from scratches and keeps it looking fresh. Learn more about what laminating is here.
You can choose between a glossy or matte finish. Our standard laminate consists of a clear gloss. If you are looking for a matte look, please contact us before we print your order.

3. It's all in the (die) cut
The cutting process is the most important step for a die cut sticker. Here, your sticker will receive its custom shape.
You can see the shape of your stickers in your digital design proof. The magenta line around the edge of your artwork indicates the cut lines along which your sticker will be die cut.
Find out more about how we cut stickers and labels.
Traditional die cutting
This is how die cut stickers came to their name. Traditionally, large custom dies are used to create the desired shape of your sticker. You can imagine these like a custom-made cookie cutter.
While it creating custom dies from scratch can be time-intense, the custom die cutting process is superfast at creating stickers in a similar shape.

Laser die cutting
Because of the time it takes to create custom dies, the printing industry is moving to automated cutting methods.
Many of your custom die cut stickers are laser cut. Laser cutters use lasers to essential burn off the material along the cut line of your stickers. These have high accuracy and work at a speed of up to 100 m per minute.
Digital die cutting
A digital cutting process uses an ultra-sharp digitally controlled blade to cut your stickers.
This happens on a so-called flatbed, on which your stickers move forwards, while the blades get to work and cut your stickers around the cut lines.
Remember that your die cut stickers are cut individually through both the sticker and the backing paper. If you are looking for die cut sheets, where the paper backing stays intact, head over to our die cut labels page.

4. Love your die cut sticker
And then all that is left to do is wrap up your stickers and send them your way.
There is a reason why die cut stickers are our most popular product. They are incredibly versatile. Get sticking and use them as a business die cut sticker, packaging labels or logo stickers.
The easiest way to get your die cut stickers is by placing your order. This means that you can lean back and relax while we do the work.
If you are looking for design inspiration before you are ready to print stickers, head over to Graphic, our free online design tool to create personalised stickers. You can edit pre-made templates and elements to design your artwork.
Are you unsure which material might work for you? We break down our material options from vinyl to our eco-friendly materials on our sticker materials page.


Comments
0 comments
Please sign in to leave a comment.