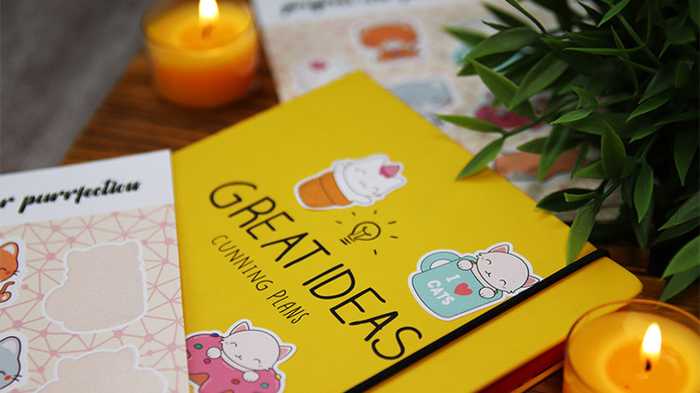
Die cut stickers are our most popular product - for good reason! While you probably know that die cut stickers are one of the best ways to promote your business or event, do you also know how to best apply them?
We are here to help you with just that. Below, you can find four easy steps on how to apply your die cut stickers like a pro.

Prepare the surface
Your printed sticker will look best on a clean and flat surface. So get to work before you even peel your stickers and remove any potential dirt and dust.
These particles can get stuck underneath the adhesive and create air bubbles that impact the look of your design.
To avoid this, wipe your surface with an alcohol-based cleaner and let it fully dry before applying your die cuts.
Take care with the paper backing
Now it is time to carefully peel your stickers. Since die cut stickers are cut around the shape of your artwork and come without any extra material, they can be a little difficult to peel.
Go slow and steady. Start on a straight edge and work your way towards the middle. It might seem silly to be so mindful about this step, but it will preserve the high quality of your stickers.

Position your die cut sticker
Now it is time to find the perfect spot for your stickers. If you apply are applying them to packaging boxes or your products, you probably know exactly where you want your sticker to sit.
But if you are sticker bombing a laptop or decorating a notebook, you might want to try out different positions.
That is not a problem, simply refrain from applying pressure to your stickers. This way you can adjust their positioning slightly as you go along.
Apply pressure
Once you are happy with your sticker, it is time to get serious. Our stickers come with a pressure-sensitive adhesive. That means the adhesive bonds with the surface as soon as you add pressure.
The best way to do this is by starting at the centre of your sticker and to slowly rub outwards with a credit card or your thumb.
Should any air bubbles form, do not worry. You can simply push them towards the edge of your sticker.

Can I put die cut stickers on my car?
Absolutely. Die cut stickers are a great way to generate exposure for your brand. You can use them as car stickers or on your windows without worrying about their durability. Simply choose a vinyl die cut sticker that will withstand water, sunlight and scratches.
Can die cut stickers go on windows?
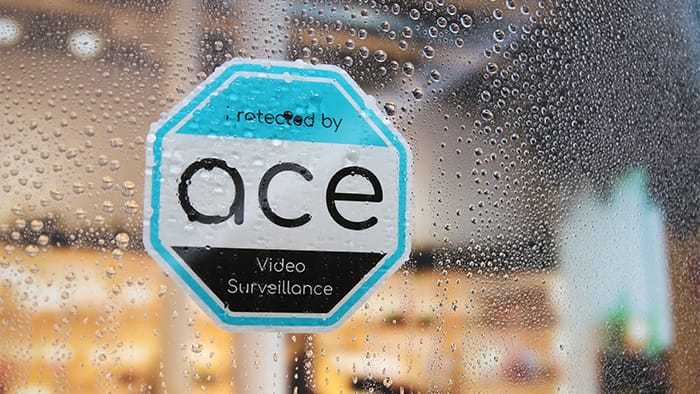
They sure can. You can either apply them to the outside of your window or use a clear front adhesive sticker to brand your windows from the inside.
Glass is one of the best surfaces to apply your stickers to as it is naturally smooth. Clear stickers look their best on a see-through surface, so make sure to check them out.

Your turn!
And this is everything you need to know about applying die cut stickers like a pro. Are you ready to get sticking? Then head over to our die cut stickers page and get your order in.
Do you want to learn more about die cut stickers? We have got you covered. Find out about the difference between die cut and kiss cut stickers, learn about the best ways to use die cut stickers for your business, or read about how to remove die cut stickers.


Comments
0 comments
Please sign in to leave a comment.