Creating die cut stickers can seem complicated. But it really does not have to be. In this article, we will share how you can prepare your die cut sticker artwork for the easiest and fastest ordering experience.
We will cover everything from sticker printing standards, to colors, your cut line and bleeds to ensure that you receive your perfect custom die cut stickers quickly.
If you are looking for a deep dive into designing for print, check out our ultimate print ready checklist.

1. Submit a high-res file
High-res stand for high resolution and describes the quality of the digital file you will be submitting. The higher the resolution of your file, the better the quality of the print will be.
This has nothing to do with the artistic quality of your artwork but refers to the size and data of your sticker file.
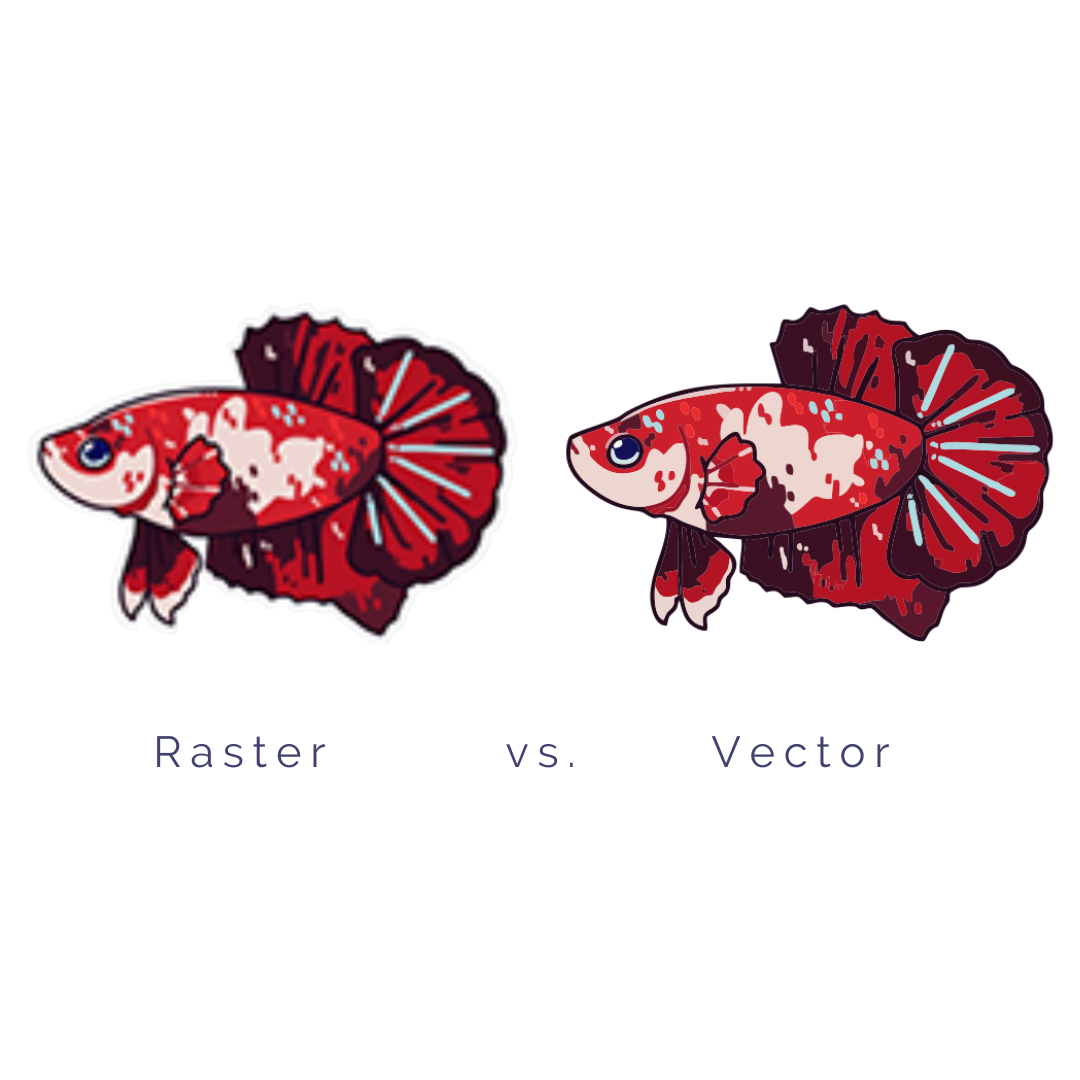
The best way to submit your sticker design is to create vector artwork. Vector files consist of formulas. The individual elements of your artwork are translated into lines and shapes.
This makes vector files easy to scale and means they will print crisply at any size and shape. You can see the difference in the example below.

You can save your design as a vector file in Adobe Illustrator or other graphic design programs. PDF, EPS and AI are the ideal formats.
If you are working with an image, you can instead submit it as a bitmap. Just make sure that your image has a DPI of over 300.
DPI stands for dots per image and refers to the number of pixels, or dots, that make up your bitmap. The higher the DPI, the higher the resolution.
2. Add a cut line (optional)
What makes die cut stickers special is their custom shape. You do not have to include a die cut line in your artwork.
Our design team will add a cut line that follows the outline of your design. However, if you would like to create your own die line, then you absolutely can.
When using Adobe Illustrator, you can add a white border with the "offset path" function. You can find out more in our article, "Do I have to include a bleed when designing die cut stickers?"
Due to the limitations of sticker printing, your die line should include no sharp edges, as these cannot be cut as precisely as rounded corners.

3. Use CMYK color mode
Did you know that there is a difference between the colors shown on a computer screen and the colors that can be printed?
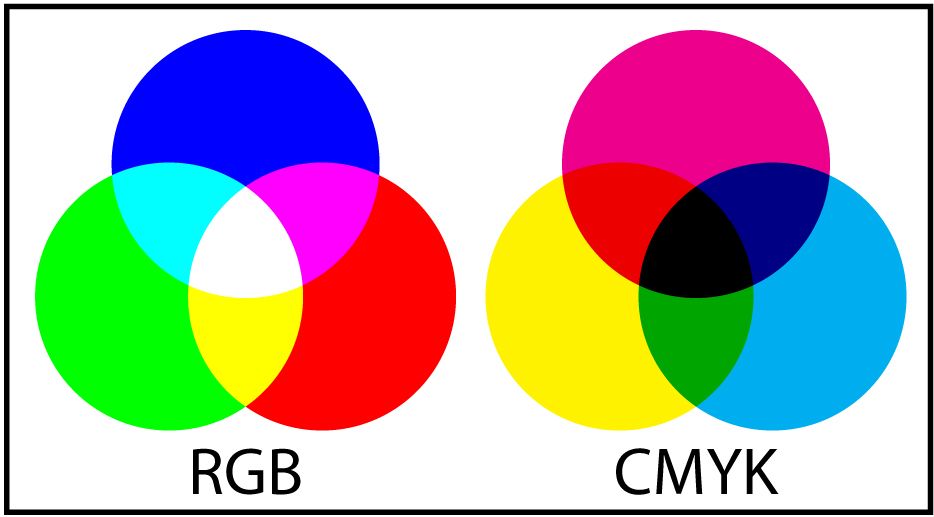
If you want to see an accurate depiction of what your die cut sticker will look like when printed, change the color mode on your screen from RGB to CMYK mode.
RGB stands for red, green and blue. Screen use this color gamut to display your artwork. With these three colors, 16,777,216 different colors can be created.
However, printers work with cyan, magenta, yellow and black to create 16,000 colors. While this is still plenty, it shows that not all the colors displayed on your screen can be printed. The image below shows the difference.

4. Ensure the text is legible
When you create a die cut sticker, it can be tempting to include as much information as possible and fill every inch of your design with content.
However, you are likely working with a certain amount of text that has to fit onto a limited space and be legible on your finished sticker.
To ensure that your stickers look great when printed, use a font of at least 8pt. In sticker printing, we work with the so-called minimum height requirement.
That is the minimum size each letter has to be to print legibly. 8pt usually does the trick, but if you want to be sure, each letter should be no smaller than 1.2 mm.
Sometimes this means stripping your design back and learning how to embrace white space. White space is a graphic design term for "empty" space. It allows your artwork to breathe and gives the essential text enough room to shine.

5. Check the final sticker design at scale
Before you submit your artwork to order your die cuts, look at your design at scale.
That means, zoom out until the sticker you see on the screen matches the size you want to order your stickers in.
Are you happy with the size? Can you read the text you have included? Do the different design elements still look great?
This is the perfect way to ensure that you will love the final product or spot any issues that might pop up. These are obviously much easier to fix before you receive your custom die cut stickers.

And this is everything you need to know about how to prepare your artwork for your die cut stickers.
If you are still looking for inspiration, use Graphic, our free online design tool to create your own artwork or have a play around and save it for later.
Enjoyed this? Then you will love these:

Comments
0 comments
Please sign in to leave a comment.